THE PUSH FORWARD CHRONICLES, ISSUE 3
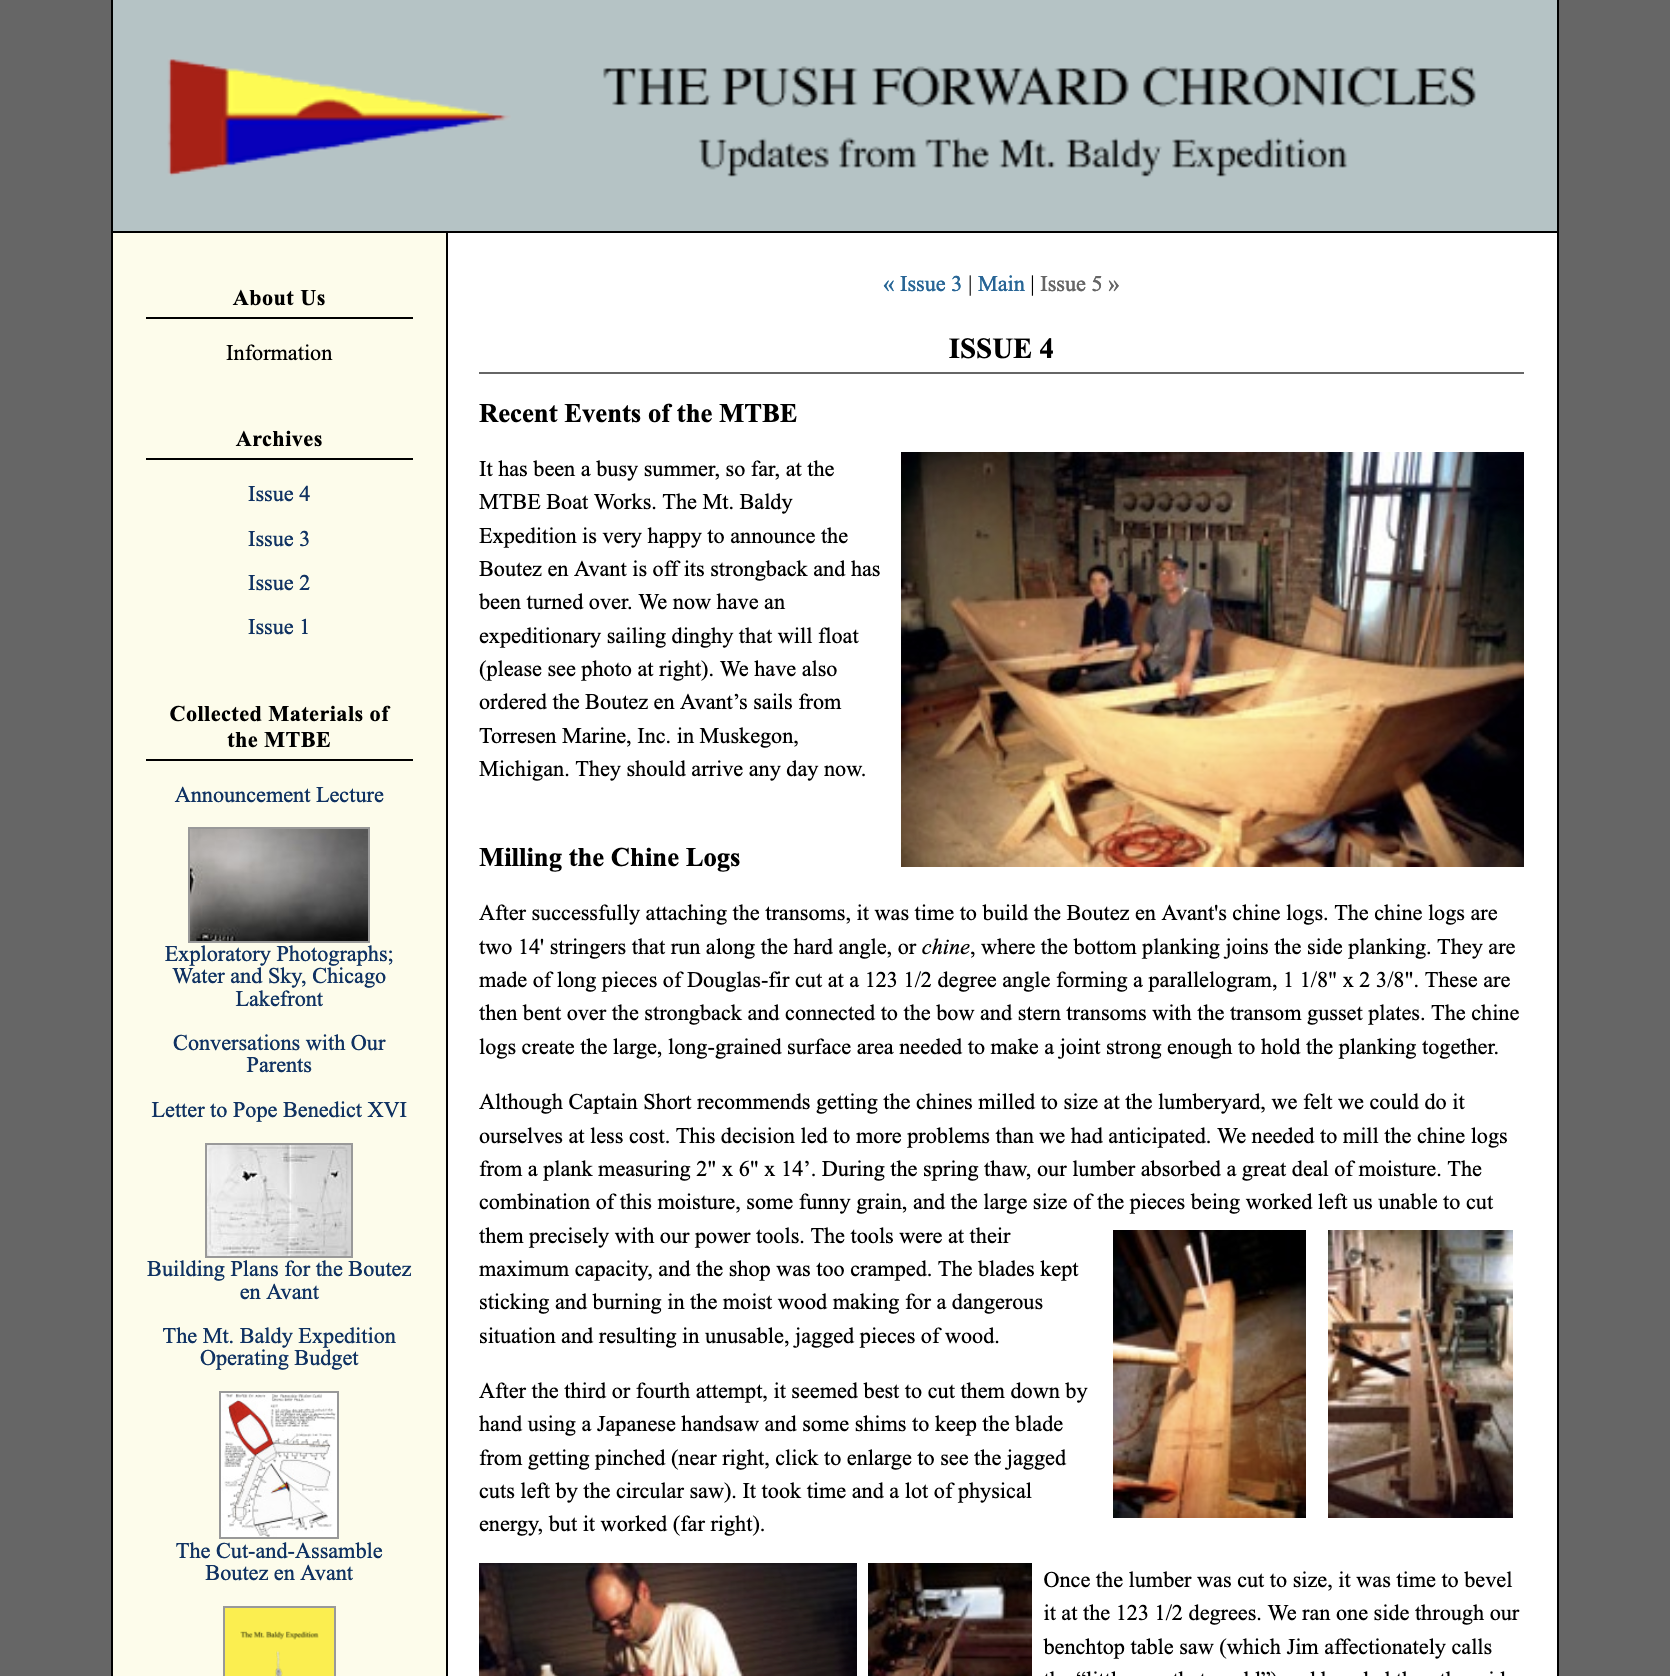
Recent Events of the MTBE
At the end of January an "Alberta Clipper" (also known as a "Saskatchewan Screamer") blew in a mass of cold, dry air bringing temperatures in the single digits and creating some challenging work conditions. The next few weeks had an average temperature of only 4.4 degrees making this Chicago's coldest February in 112 years. By mid-February, however, snow came with slightly warmer temperatures. At right, the former cornerstone to the New Salem First Evangelical Church and the current MTBE Boat Works' break area early in February.
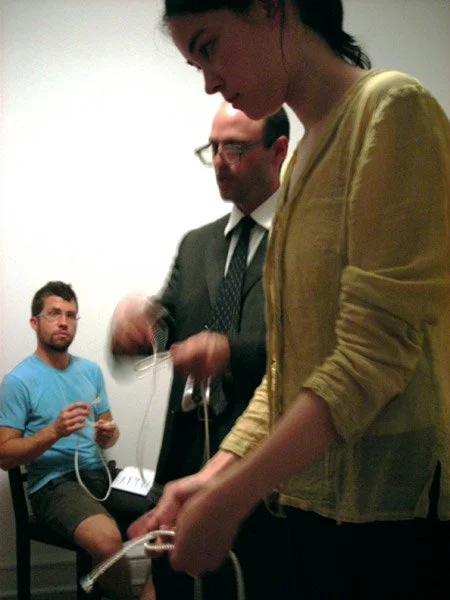
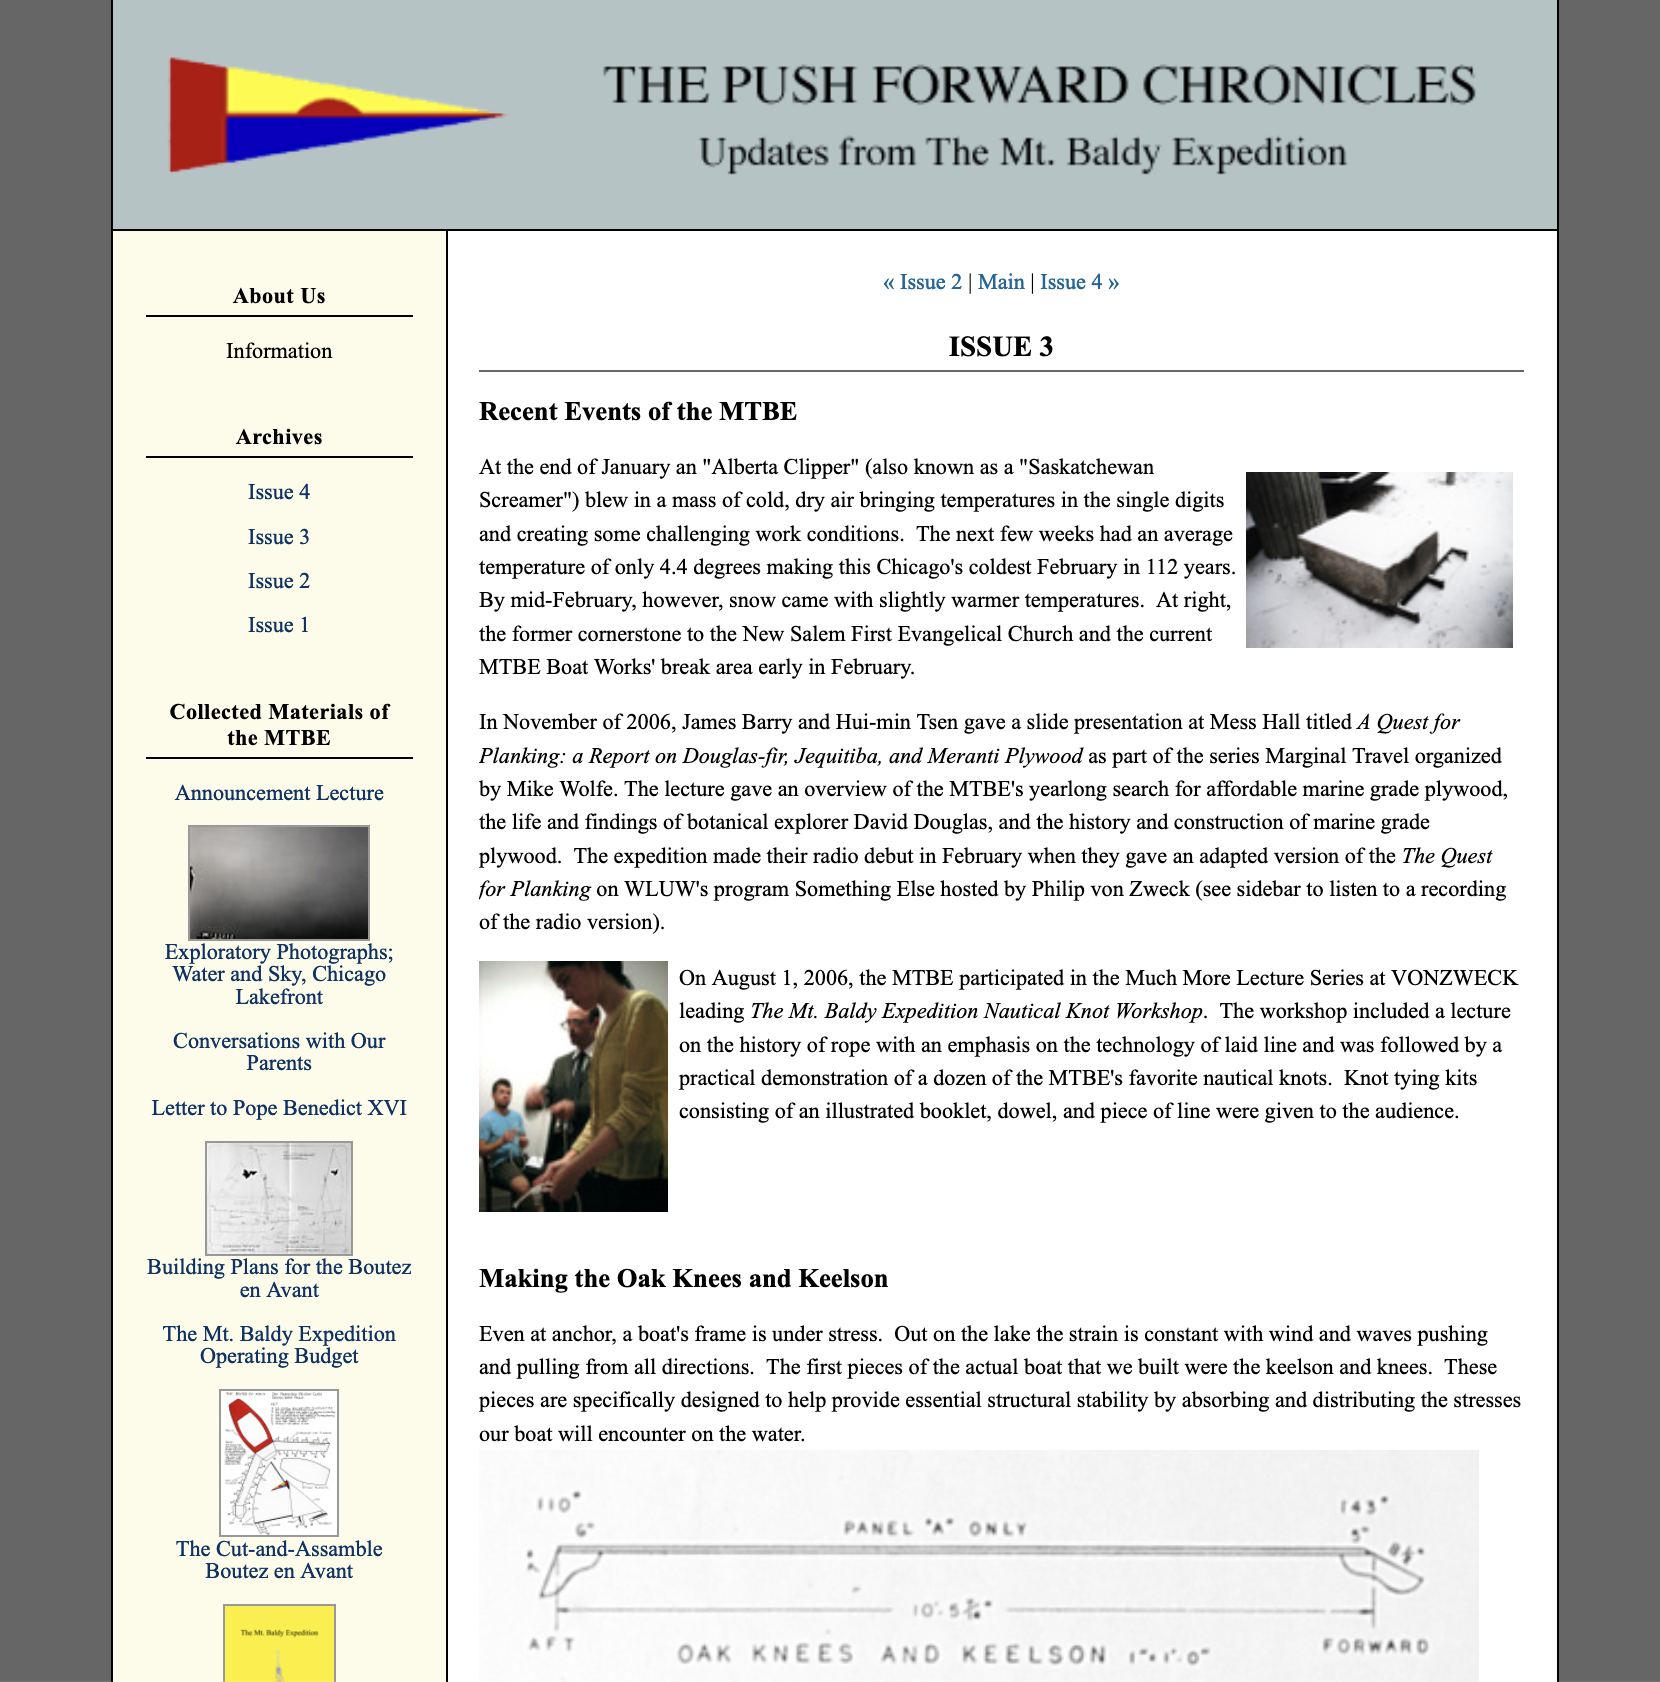
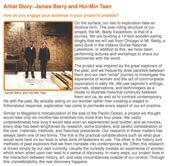
In November of 2006, James Barry and Hui-min Tsen gave a slide presentation at Mess Hall titled A Quest for Planking: a Report on Douglas-fir, Jequitiba, and Meranti Plywood as part of the series Marginal Travel organized by Mike Wolfe. The lecture gave an overview of the MTBE's yearlong search for affordable marine grade plywood, the life and findings of botanical explorer David Douglas, and the history and construction of marine grade plywood. The expedition made their radio debut in February when they gave an adapted version of the The Quest for Planking on WLUW's program Something Else hosted by Philip von Zweck (see sidebar to listen to a recording of the radio version).
On August 1, 2006, the MTBE participated in the Much More Lecture Series at VONZWECK leading The Mt. Baldy Expedition Nautical Knot Workshop. The workshop included a lecture on the history of rope with an emphasis on the technology of laid line and was followed by a practical demonstration of a dozen of the MTBE's favorite nautical knots. Knot tying kits consisting of an illustrated booklet, dowel, and piece of line were given to the audience.
Making the Oak Knees and Keelson
Even at anchor, a boat's frame is under stress. Out on the lake the strain is constant with wind and waves pushing and pulling from all directions. The first pieces of the actual boat that we built were the keelson and knees. These pieces are specifically designed to help provide essential structural stability by absorbing and distributing the stresses our boat will encounter on the water.

The keelson is a strip of wood that runs down the center of the boat, much like a backbone, and provides rigidity to the bottom of our dinghy. The transom knees join the keelson to the bow and stern transoms to create a very strong joint.
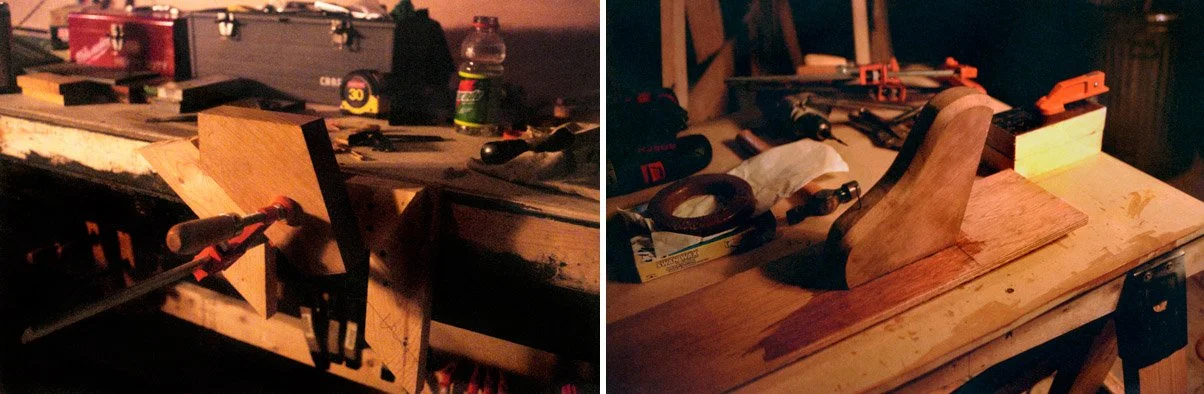
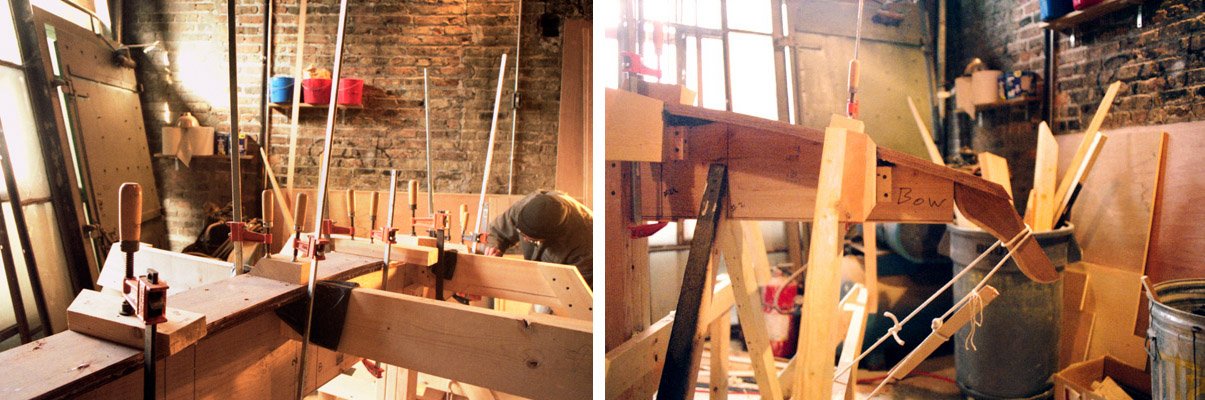
Our first step in preparing the keelson was to cut out the knees. We cut them from a solid piece of two inch thick white oak and angled them at 110 and 143 degrees (stern and bow, respectively). We hand planed them to their precise angles (above left) and then glued and screwed them to the keelson with epoxy and silicon bronze screws (above right).
The keelson consists of two pieces of ½ inch Meranti plywood measuring 6" wide and 10' 6" long. These pieces are bent over the strongback and laminated together. Our plywood, however, came in 4'x8' sheets. To make the 10' 6" length that we needed required us to join two shorter pieces end to end using a scarf joint, one of the most common forms of joinery in boat building. First, we marked the 8:1 angle on the two pieces we were joining (left top), and then made the bevel cut, maximizing the adherable surface area (left bottom) to create a strong and bendable bond. We cut them together to ensure an exact fit using a power plane for the rough work then a hand plane for the exact angle.
Laying the Keelson
After successfully scarfing the plywood into panels and affixing the knees, it was time to "lay" the keelson over the strongback laminating the two panels together to give it the precise curvature of the bottom of the boat.
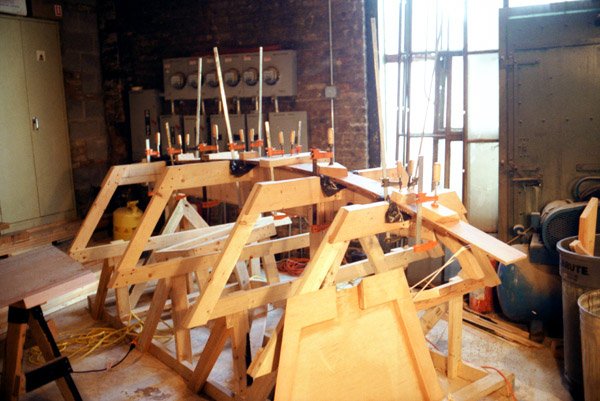
In preparation for laminating the keelson, Hui-min covered the notches in the strongback with garbage bags to protect it from dripping epoxy (above). Because of the cold, the epoxy would begin to congeal as soon as it hit the cold surface of the plywood making it difficult to spread. The solution was to have one person warm the wood with a heat gun while the other spread the epoxy (above right).
We clamped the two panels tightly to the strongback (far left). Here the bow knee is clamped to the strongback with a spanish windlass to keep the curve of the keelson even through the end of the plank (near left).
The keelson clamped waiting for the epoxy to set (above).
Working in the Cold
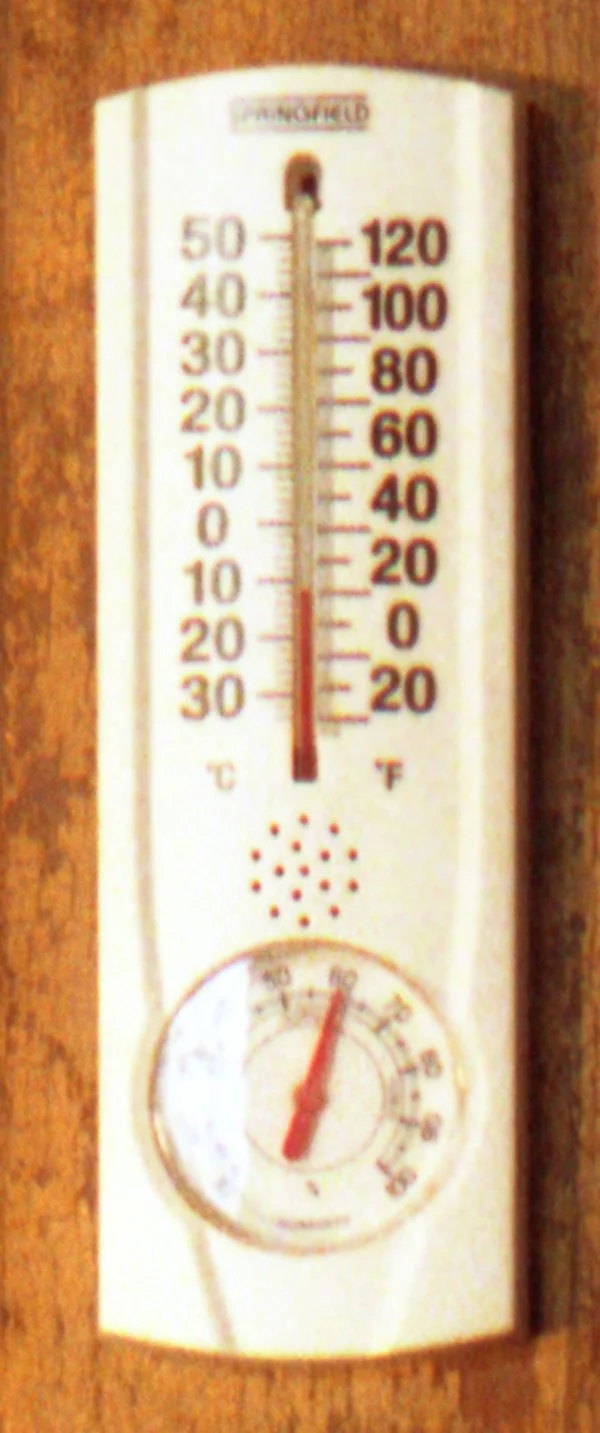
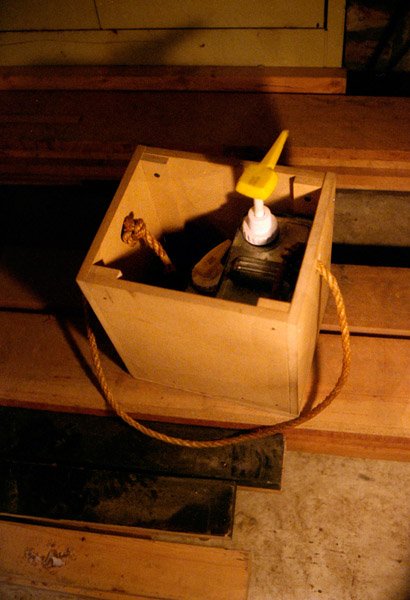
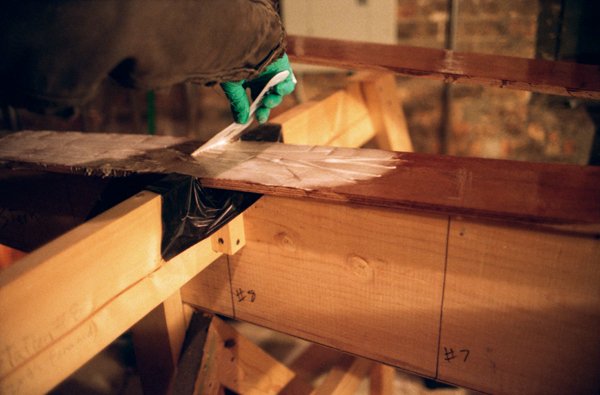
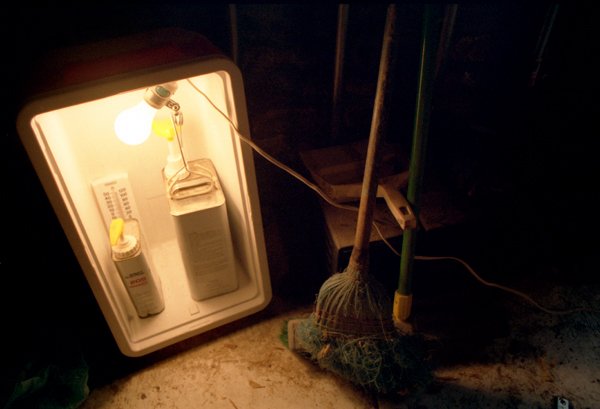
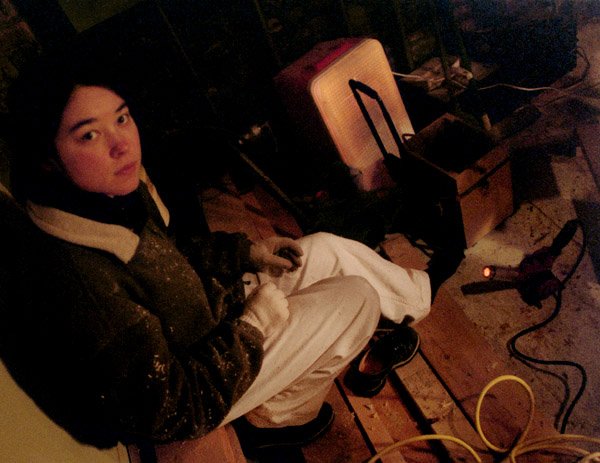
One of our biggest challenges during the winter was dealing with the cold. Our shop is in an old, brick carriage house with tall ceilings and was complete with its hayloft when we first rented it. It's perfect for our purpose: a good size, the right price, and we have a very good landlord. The one drawback, though, is no heat. We quickly found that we would be fine in many layers of clothing, but our epoxy, designed to be used in temperatures above 40 degrees, had to be treated more carefully. When we first realized we'd be working through the winter, we contacted the epoxy manufacturer, West Systems, to ask their advice. The representative J.R. Watson wrote back with an excellent solution. "It's all about viscosity," he said. "Keep the resin and the hardener in a cooler with a low wattage lightbulb." We did just as he suggested and the epoxy, in its incubator, stayed a nice 60 degrees even when shop temperatures were averaging 15 to 20 degrees (below left). To prevent the epoxy from freezing overnight, Jim made a carrying case for it and simply brought it home each night (below right).
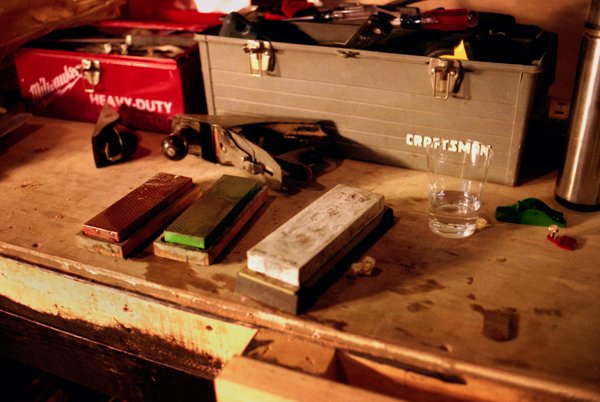
Other problems of the cold were best solved with a heat gun. When the water on our sharpening stones unexpectedly froze while we were sharpening the tools, we found the problem could easily be fixed by mounting the heat gun to a pole and aiming it at the stones (below left). If we felt frost-bite creeping up, a few minutes in front of the heat-gun warmed our hands and toes making them feel whole again (below right). The heat gun quickly became one of our favorite tools. We found, however, that even it had limitations. When the thermometer in the shop read 10 degrees, we knew it was simply too cold to work.
Building the Transoms
The Pelican is a bluff bowed dinghy (a dinghy with a flat bow rather than a pointed one) making it easier to build and adding a great deal of strength. Both bow and stern transoms are fabricated from ¾" Meranti plywood with 1 5/8" Douglas-fir cheek frames. The cheek frames create the surface area needed for a strong joint between the transoms and the planking (see plans at right).
To make the transoms, we carefully followed the dimensions and angles specified in Captain Short's plans. First we enlarged and transposed the pattern from the plans to the plywood and cut them out (far left). We then planed down the edges that were left rough from the cut (above right).
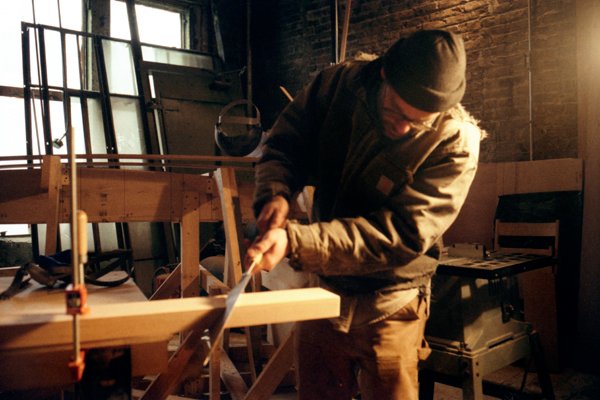
After re-milling our rough-sawn Douglas-fir to make the 1 5/8" planks needed for the cheek frames, we cut them to the proper angles (near right) and glued and screwed them to the transoms (below left) with the epoxy and silicon bronze screws. Because of the unusually cold temperatures, the epoxy took four days to set. When it was safe to unclamp them, we took the final step and planed them down to size. The stern was beveled at 108 degrees, and the bow was beveled at 132 degrees.
When they were all precisely beveled, the whole assembly was ready to attach to the keelson.
Oooops...
It was when we held the transoms up to test fit them to the keelson that we first realized the bottom angle on the transoms was completely wrong. Instead of matching up nicely with the curve of the keelson, it angled off too sharply (left). When we backtracked, we found the source of the problem to lie in a discrepancy between the sheet plans and the accompanying instructional booklet. The plans gave the angles for the bottom planking and the booklet gave the angles for the side planking.
As a quick solution to save time and materials, we enlarged the transom's edges by gluing a bit of Douglas-fir to the sides that came up short and temporarily fixed them in place with some dry wall screws while the epoxy set. The plan was to take out the screws and re-plane the transoms down to the correct angle. We learned a lesson in epoxy, though. When we went to take the screws out, we found the epoxy had grabbed them like a vise. About 80% of the screwheads snapped off, and we realized we'd have to rebuild the transoms from scratch. The markings on the transom where the screws didn't come out (below left) and the broken screws (below right).
Re-building the Transoms
It was much easier to build the transoms the second time. Since we had already tested our methods on the first go around, we knew where to take shortcuts and fell into a rhythm of measuring, cutting, planing, and gluing. We even had the chance to learn some new tricks such as this great epoxy clean up trick. Because it doesn't stick to plastic packing tape, we now tape up the area bordering the joints. When we clamp the joint, the epoxy squeezes out onto the tape instead of the wood. Just pull off the tape-- instant clean joint.
Attaching the Transoms

With a little help from our shop assistant Andrew Lorish, the new transoms were easily installed. Testing them with a batten proved the new bevels will work out perfectly.
Final Attachment of the Bow and Stern Transoms
Announcements
The Mt. Baldy Expedition is happy to announce two new shop assistants, Andrew Lorish and Glen Hendrick. Andrew has been volunteering his time and skills to the MTBE since the first day we moved into the shop. Glen started helping a few weeks ago and is an experienced coracle builder.
We would like to thank Charles for sending in this photo of his completed Cut-and-Assemble Boutez en Avant.
The Mt. Baldy Expedition is partially supported by a community Arts Assistance Program grant from the City of Chicago Department of Cultural Affairs and the Illinois Arts Council, a state agency.